Tag: knitting for beginners

  • Mastering Knitted Increases: M1, KFB, and YO

    Mastering Knitted Increases: M1, KFB, and YO

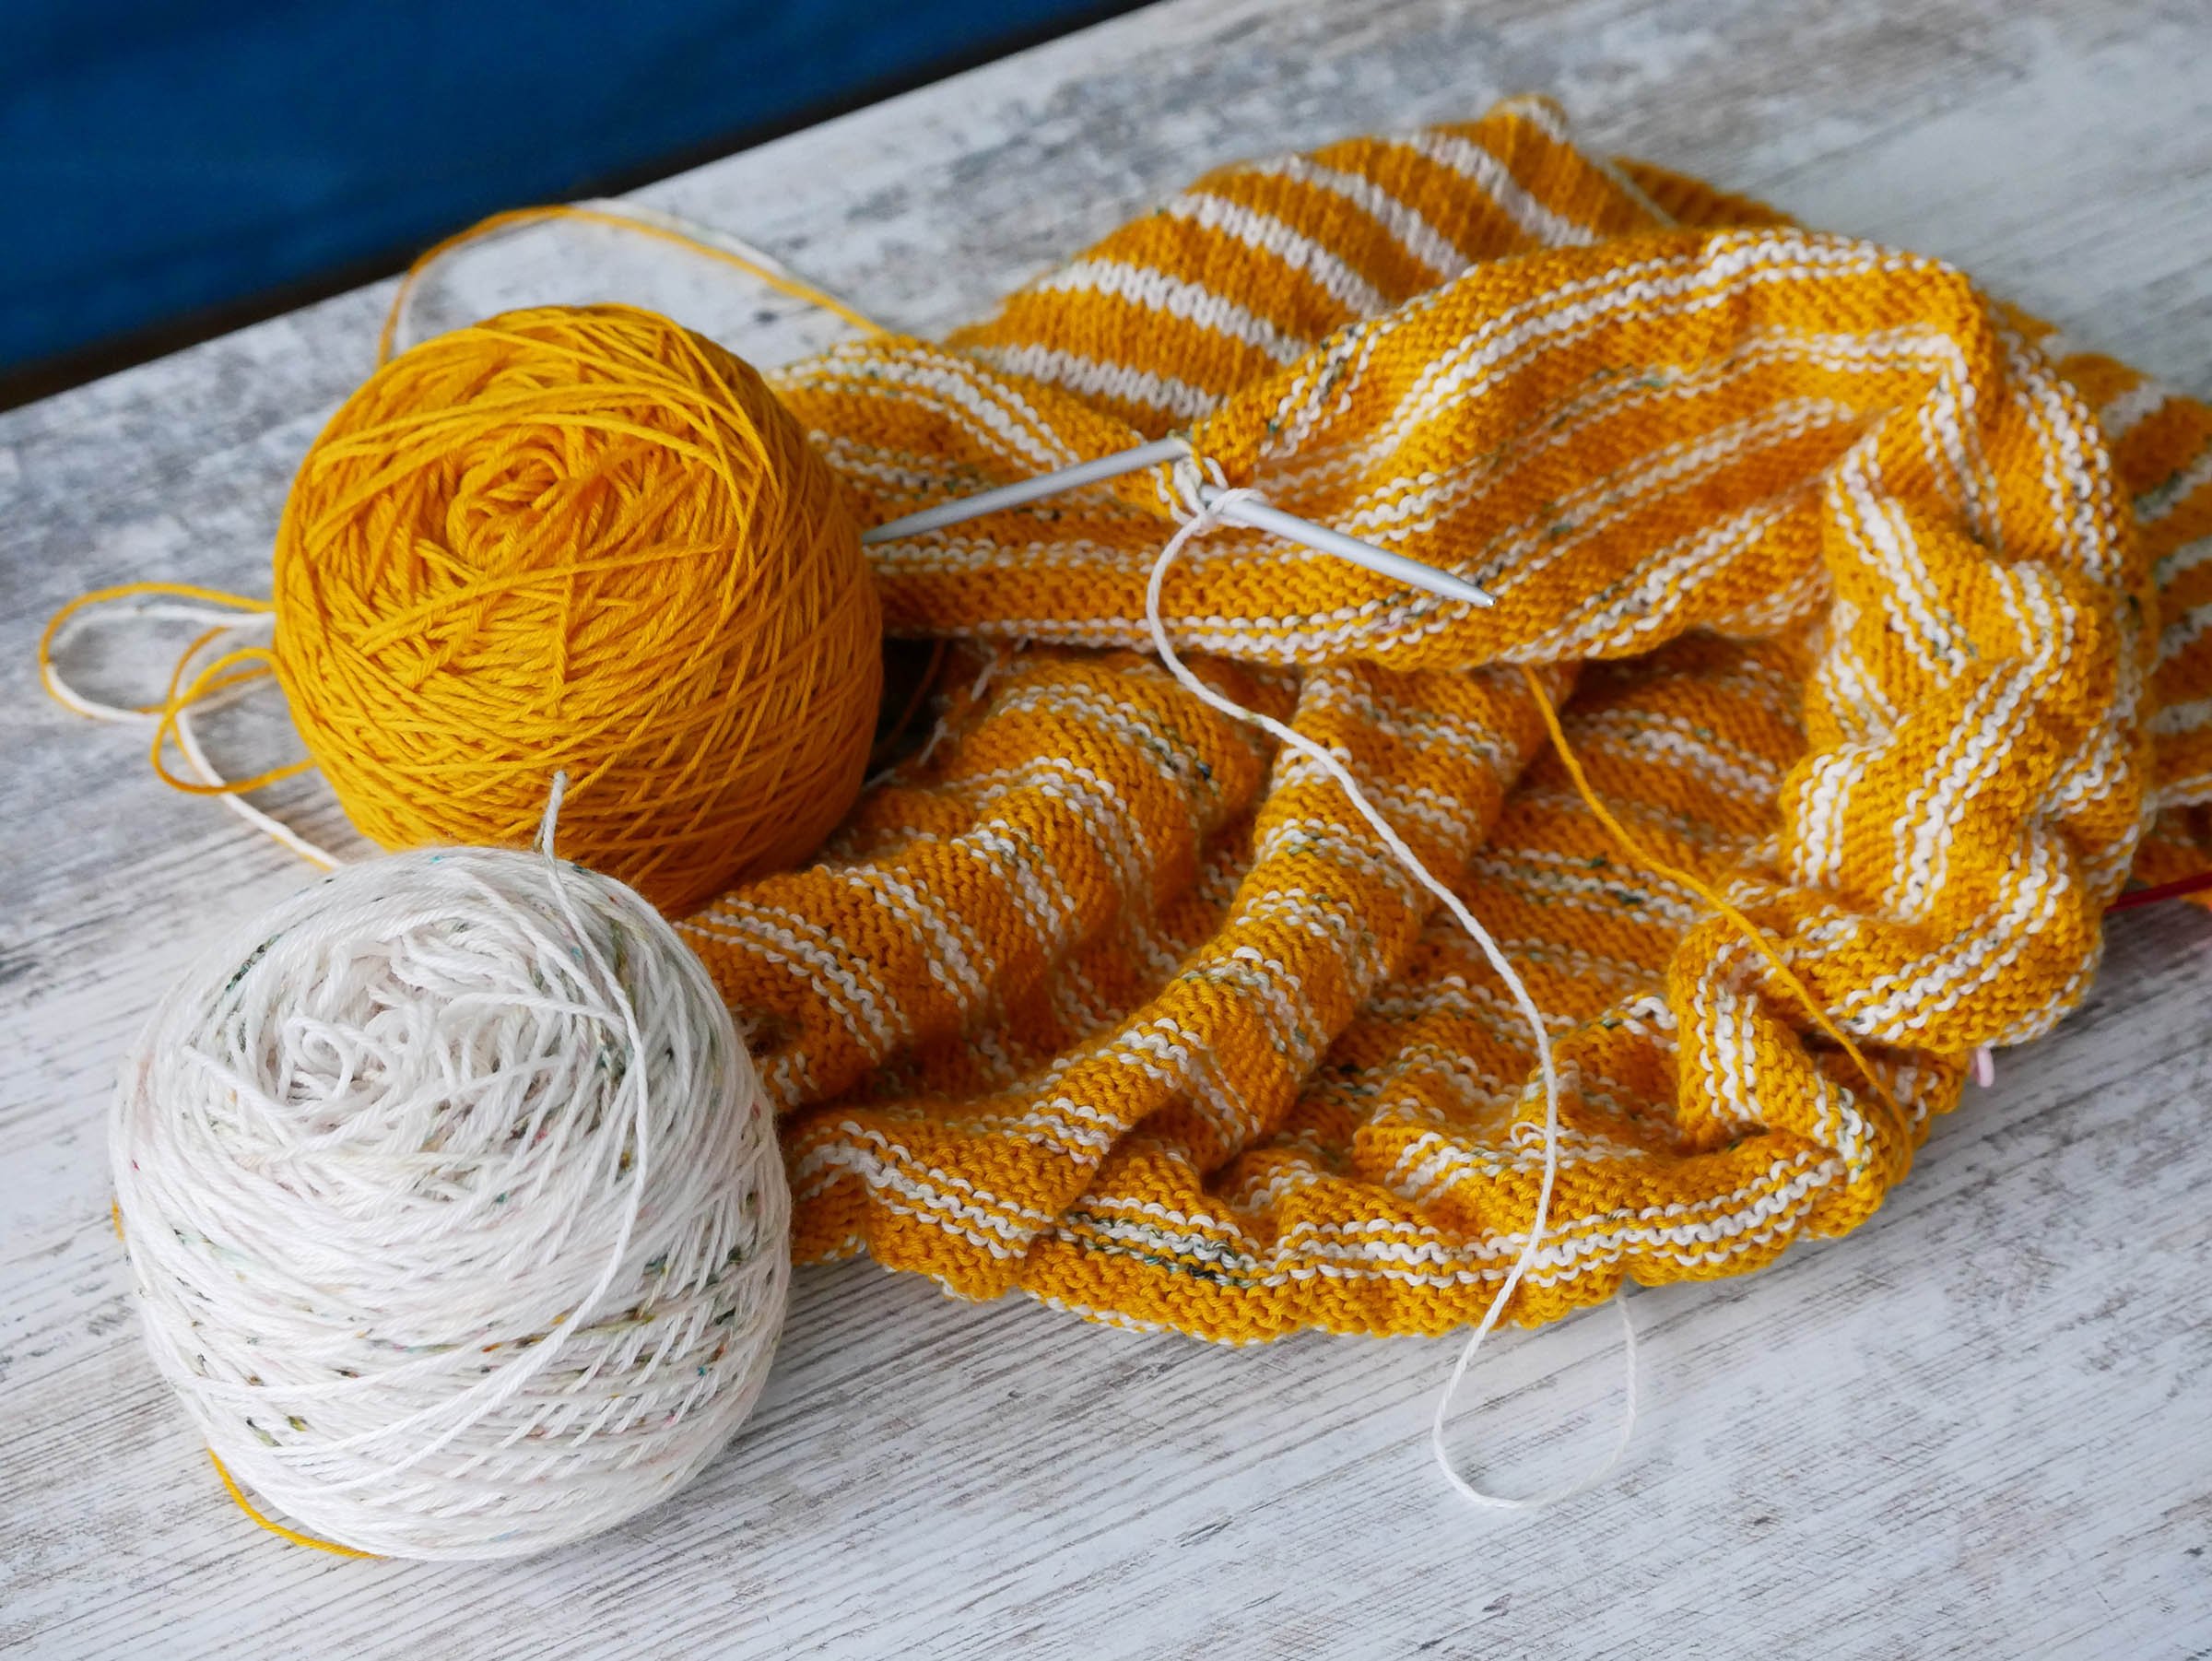
    Have you ever been knitting along on a project and hit the rather vague instruction to “increase one” and wondered what, exactly, you should do now?

    Or maybe you only know one increase, so that’s your go-to. But what if a different increase would do the job better?

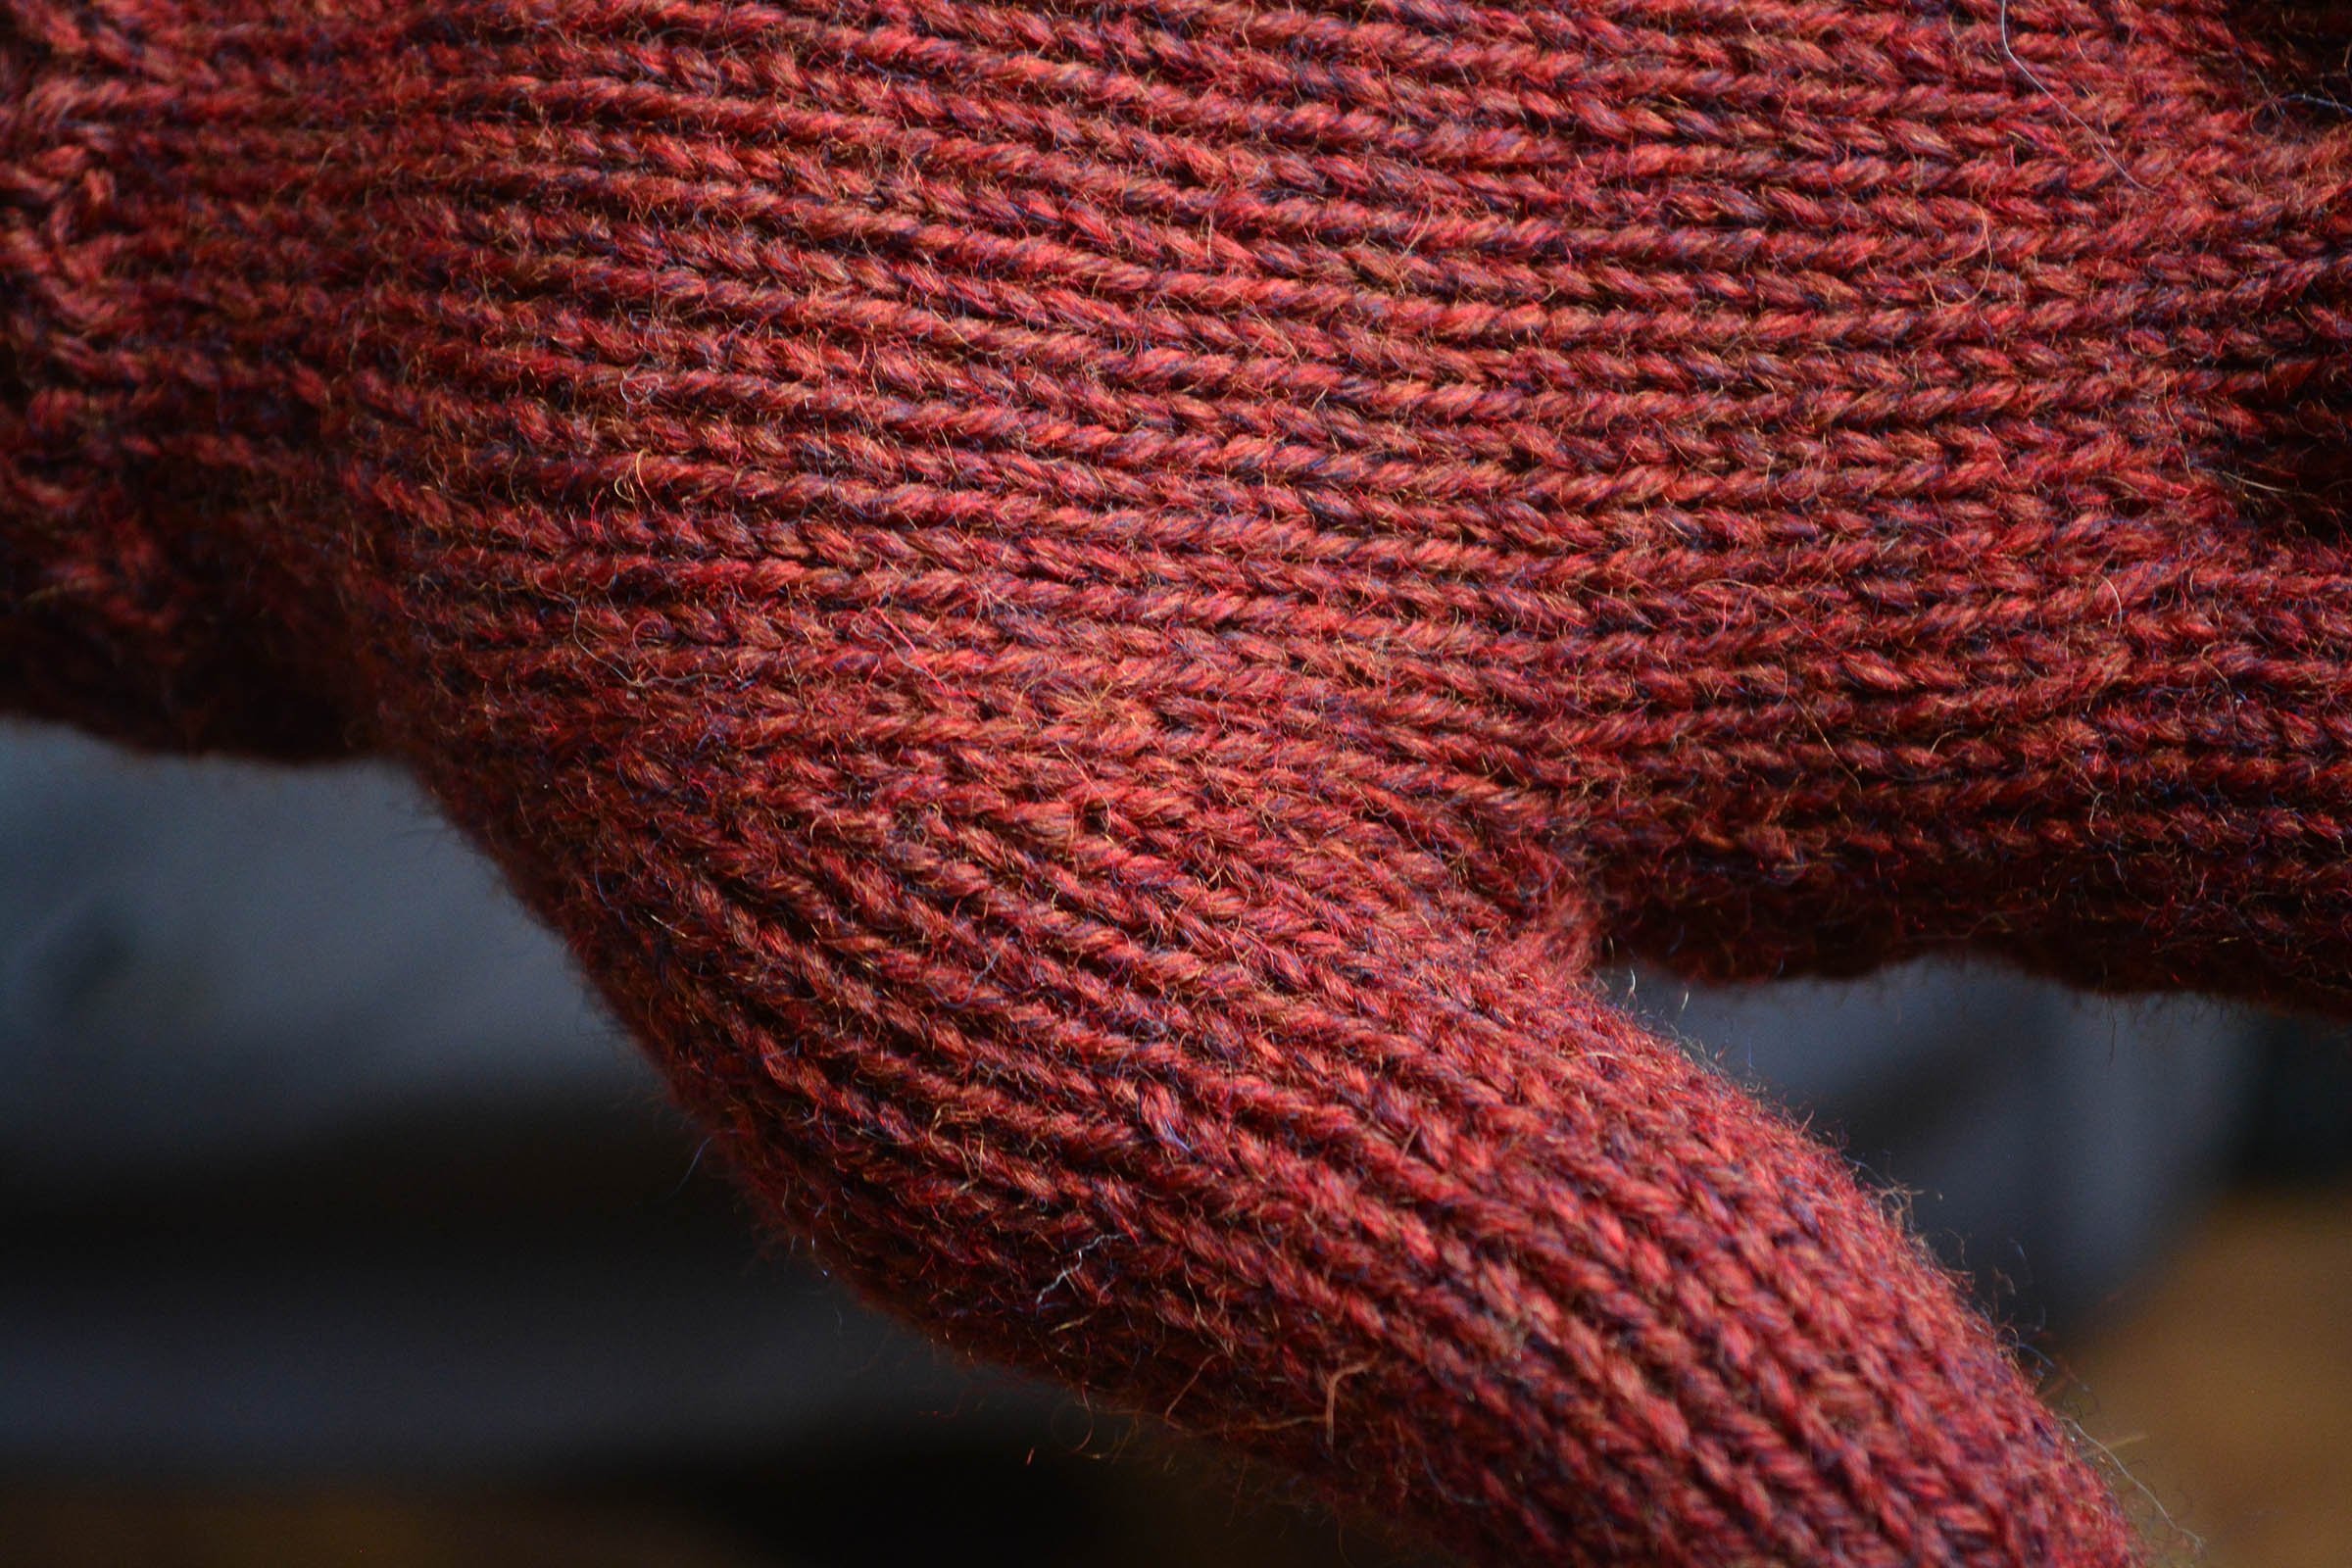
    You’re not alone, my friend. Increases are a particularly handy tool in the knitter’s toolkit to shape your fabric and create textural interest, but knowing which stitch to use and how to make it can feel a little overwhelming. After all, every increase produces a different effect in the fabric, and can even affect fit.

    Knowing which increase to put to work when will help you level up your craft and produce stunning results. So join me as we demystify three knitted increases that you’ll be able to use for nearly any project. Onward!

    Pin for "How to Work 3 Simple Knitted Increases" featuring a ginger tabby cat wrapped in an eyelet cowl in the snow.

    Decorative Increases: Yarn Overs (YO)

    A yarn over, abbreviated YO or yo, is the easiest type of increase to make, because you literally just move your yarn over the needle from front to back between stitches. When you get back to the yarn over on the next row or round, you work it as if it were a regular stitch. Because it wasn’t anchored into the previous row, the result is a little hole in fabric, like this:

    Six blocked shawl swatches of various styles are gathered in a group.
    The little lines of eyelets on these shawl swatches were made with yarn overs.

    Yarn overs are often used for decorative effects or when you need a little hole for a button or ribbon to go through, and because of this, they are frequently paired with decreases to balance stitch count.

    One thing to be aware of with yarn overs is that they loosen the gauge in the area around them, which makes them less than ideal for increases around thumb gussets or other areas where you need firm and sturdy fabric.

    What Yarn Overs are Used For:

    • Buttonholes

    • Eyelets for ribbon to be laced through

    • Eyelets in geometric patterns to create lace

    • To create “bumps” in a folded picot edging

    • To create interesting surface textures

    • Anywhere you want a little hole effect

    How to Make It:

    At the desired location in your row, move your working yarn over your needle from front to back, then work the next stitch (which will often be a decrease such as k2tog—knit two together as one).

    Closeup of the back of a pair of fingerless mittens with a pair of eyelet columns running up the back.
    The Secret Garden Fingerless Mittens use yarn overs to create a pair of eyelet columns running up the back on either side of a centre one-stitch column.
    Closeup of a slipper shaped with short rows at the toe and heel and gathered with a ribbon bow at the front of the ankle.
    The eyelets aren’t visible in this photo, but the Graceful Slippers use a row of eyelets at intervals to create a path for the ribbon bow to travel through in order to gather the front together.

    Mirrored Increases

    While yarn overs leaves a little hole, they are unidirectional—the column of stitches rising from a yarn over appears to come out of nowhere and ascend straight up.

    However, most knitted increases are directional. This means that your increase will create a new stitch column, but it will appear to “sprout” from the left or right side of neighbouring stitch columns, depending on which increase you used, and angle away from it.

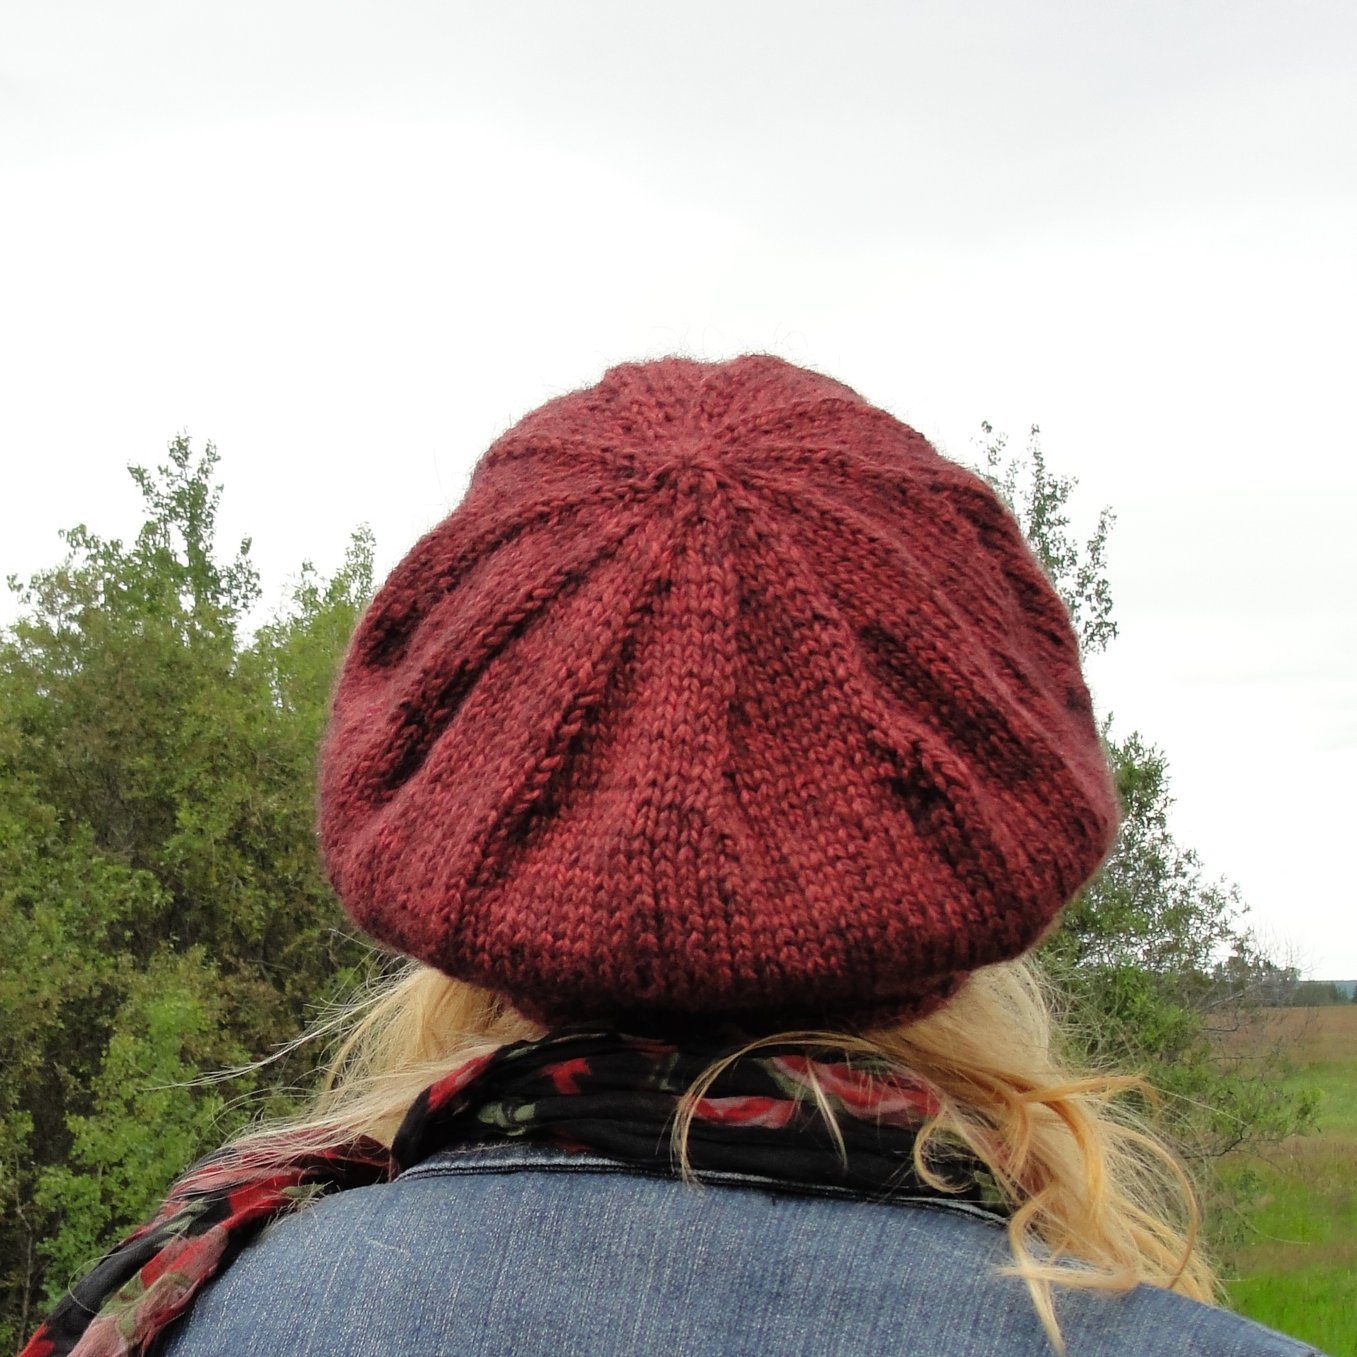
    Sometimes, this won’t matter. For instance, if you’re knitting a top-down sweater yoke or hat that increases at regular intervals to achieve the right stitch count for the head or body circumference, you’ll likely use the same increase at every repeat. This will create a swirly effect.

    Crown decreases on a slouchy tam worn by a blond woman in front of a summer tree background.
    This image shows the Lucy Pevensie Tam, a hat design that is decreased toward the crown instead of increased away from it, but the pinwheel effect in the fabric is the same as using a single type of repeated increase at intervals would create.

    However, if you’re creating a design where different increases are creating a mirror effect for symmetry, such as on either side of a sweater with raglan shoulder shaping, you need to be aware of which direction your chosen increase leans and use the mirror-image version at the appropriate places.

    Flat lay of a short-sleeved baby cardigan with alternating garter stitch and stockinette stripes that uses raglan shoulder shaping.
    The pairs of increases at the shoulders in the top-down Baby Mandarin Jacket use mirrored left-leaning and right-leaning Make One increases.

    And, since most patterns are designed with only right-handed knitters in mind, left-handed knitters will need to be aware of whether the directional stitch called for in the pattern needs to be flipped to create the intended effect, or whether they can create the stitch normally (meaning, as a mirror of a rightie’s technique) without any complications. This will usually only be a problem if the increase is part of a surface texture pattern, as well. If you’re ever unsure, talk to an experienced knitter or contact the designer to ask them about it.

    It’s a lot, I know. Let’s break down the two main types of directional increases, and what you’ll likely want to use them for.

    (Note that there can be some regional differences between the exact definitions of these terms, especially the Make Ones, so always consult your pattern glossary to ensure you’re using the technique the designer has in mind.)

    Bar Increases (K1FB / KFB and its mirror)

    Knitting into the front and back of the same stitch (abbreviated K1FB or KFB for “knit one front and back”) is called a Bar Increase, and it’s the first increase many people learn. It’s logical, right? You want another stitch, so just add one into the column of stitches you’re currently working.

    (The two abbreviations K1FB and KFB are interchangeable, but mean the same thing. I’ll use KFB for the remainder of this post.)

    This type of increase creates a little horizontal bar around the base of the new stitch above a tiny hole, which can create some textural interest in the fabric. It also pulls on the yarn less than the Make Ones below do, meaning the fabric remains at about the same gauge as everything around it. You can even work a whole bunch of these in a single stitch to create little bobbles and knobs for surface texture.

    The bar increase is often used for non-directional situations, such as sweater yokes or hat crowns. That’s because the “default” version of the bar increase is the KFB, which creates a left-leaning stitch, with the bar anchored on the left side of the column of stitches on the right. It is pretty easy to create.

    The right-leaning bar increase is more involved. In fact, many people don’t even know that this increase has a mirror, let alone how to make it. But if you prefer the look of the KFB increase and want the mirror, there is, indeed, a way to do it, which we’ll get to in a moment.

    What KFBs are Used For:

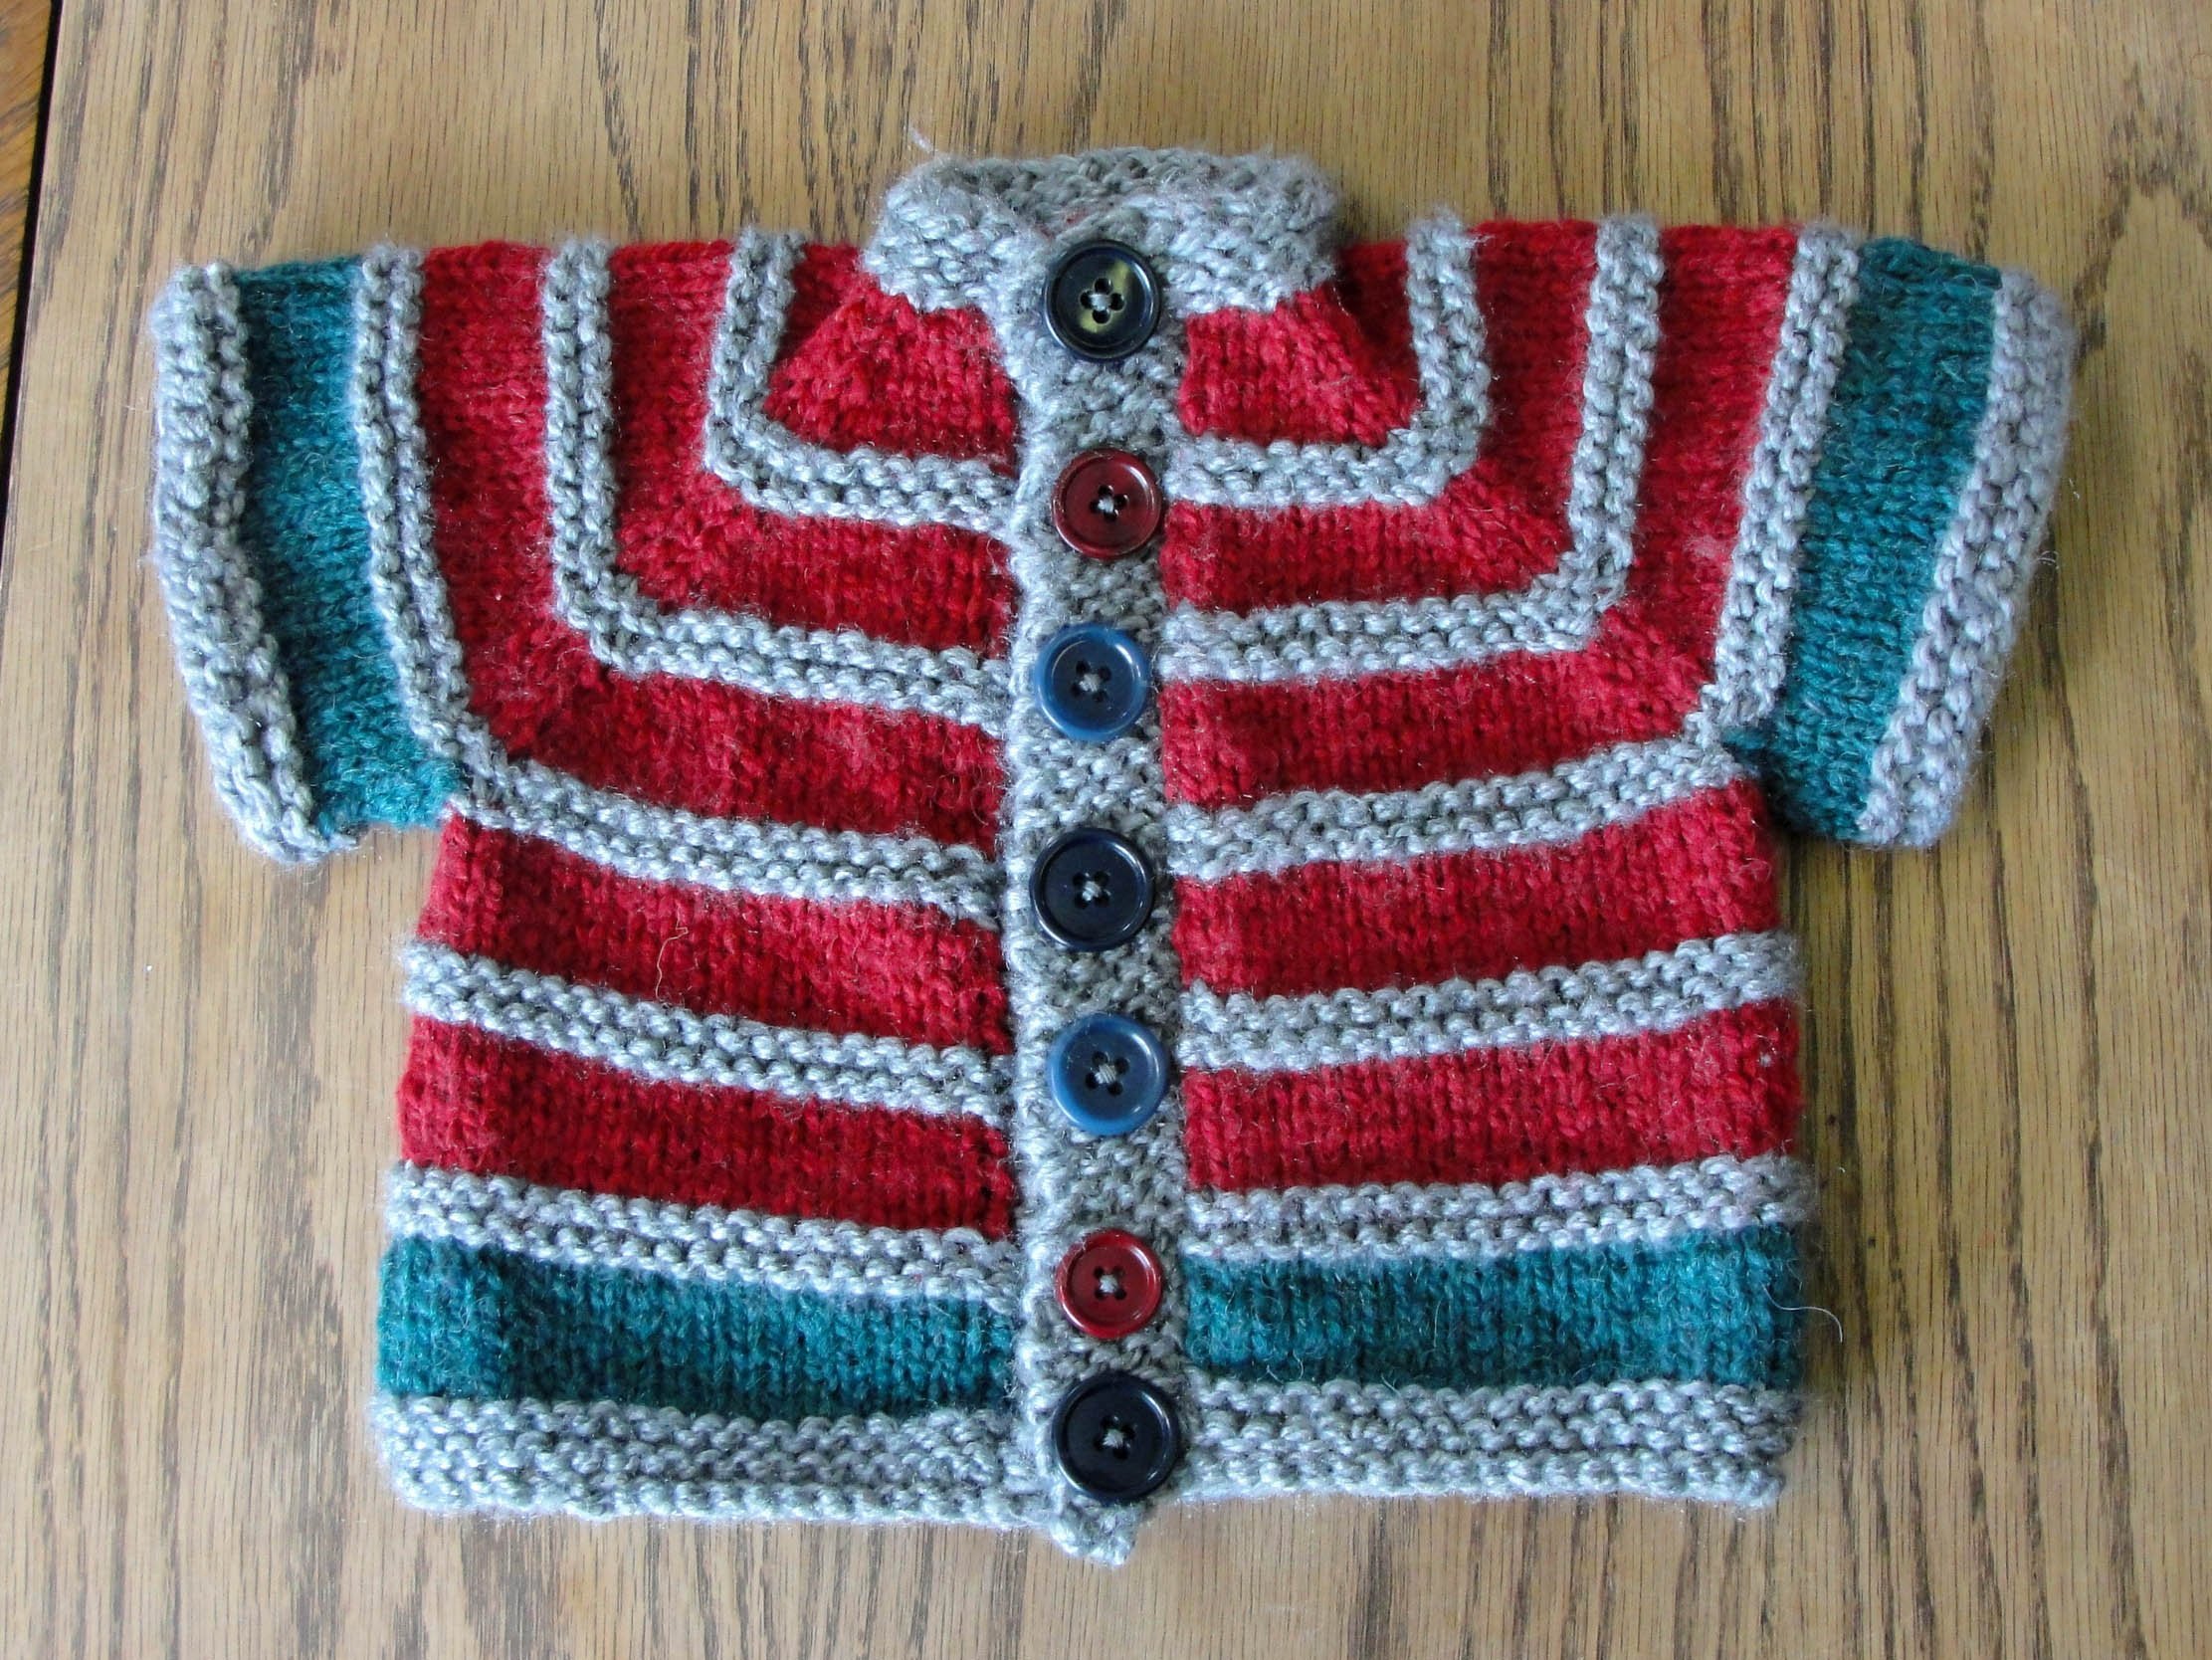
    • Top-down sweater yokes

    • Scarves, shawls, and other designs where a flat increase without an eyelet is desired.

    • Waist shaping

    • To create textural interest by changing the angle stitches are travelling or to create bobbles

    • Anywhere you want an increase that doesn’t affect fabric gauge

    How to Make It:

    To create the Left-Leaning Bar Increase, or KFB, simply knit into the front and back of the same stitch before pulling it off the non-working needle.

    The mirrored Right-Leaning Bar Increase is a little more complicated. And if you want to achieve the effect of the KFB from the “wrong” side of the fabric, you need to use another technique.

    Fortunately, I have tutorials for all three of these. You can see them here:

    Closeup of a pair of knit socks with an unusual curved "leaf" texture and a side chain cable.
    The unusual curved surface texture of the Beanstalk Socks use mirrored Bar Increases to make both socks match.

    Make One Increases (M1, M1L, and M1R)

    Make One Increases pick up the bar between stitches and twist it in a loop while knitting into it. Which direction you twist the bar determines whether the new column will lean away from the stitches on the left or the right of the increase. This increase is fairly easy to make and remember, no matter which direction you want it to lean.

    Twisting the bar pulls the columns next to the increase together slightly for a nice, firm fabric without any holes, making this the preferred option for thumb and heel gussets and many other places where you need to shape garments to fit the body and keep the fabric firm.

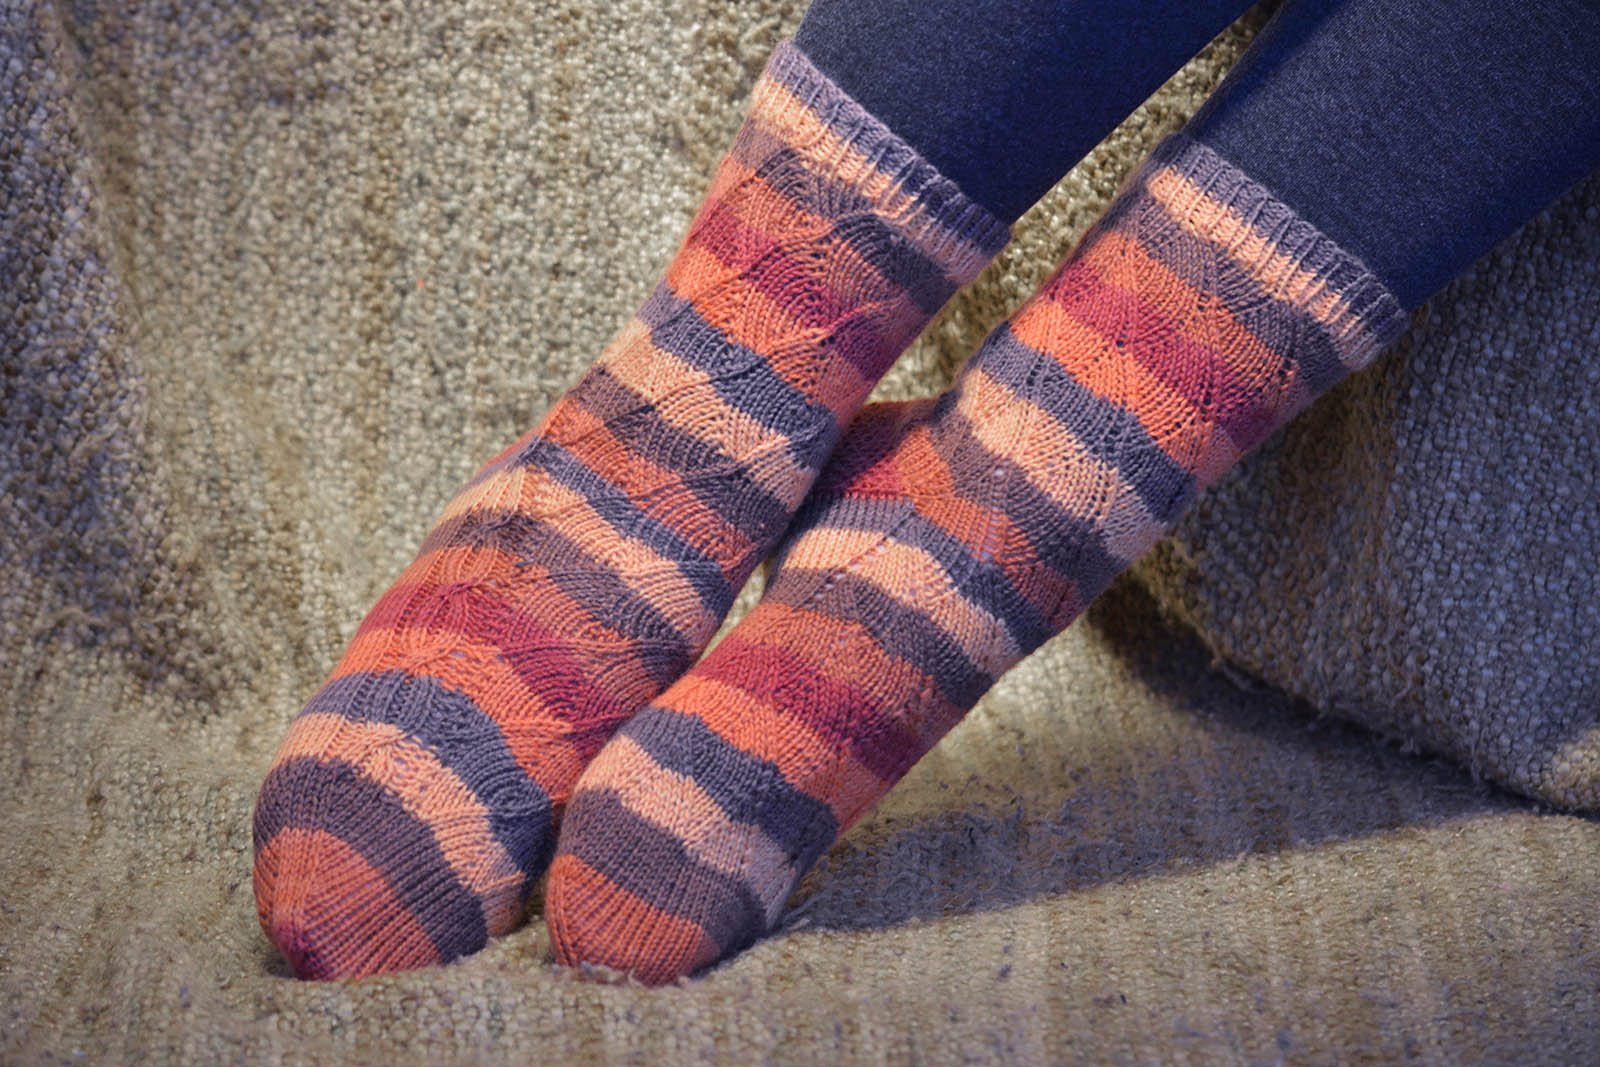
    Using pairs of left-leaning and right-leaning Make Ones (M1L and M1R) will create a straight-line effect at an angle from the “straight” columns that appear to grow from the increases, such as raglan shoulder shaping on top-down sweaters.

    For most directional increases, Make Ones (M1) will be your go-to, though some designers use M1 for non-directional cases instead of KFB. (If a designer ever calls for M1 without specifying left or right, use the M1L.)

    What M1s are Used For:

    • Raglan shaping (mirrored pairs of increases for straight lines)
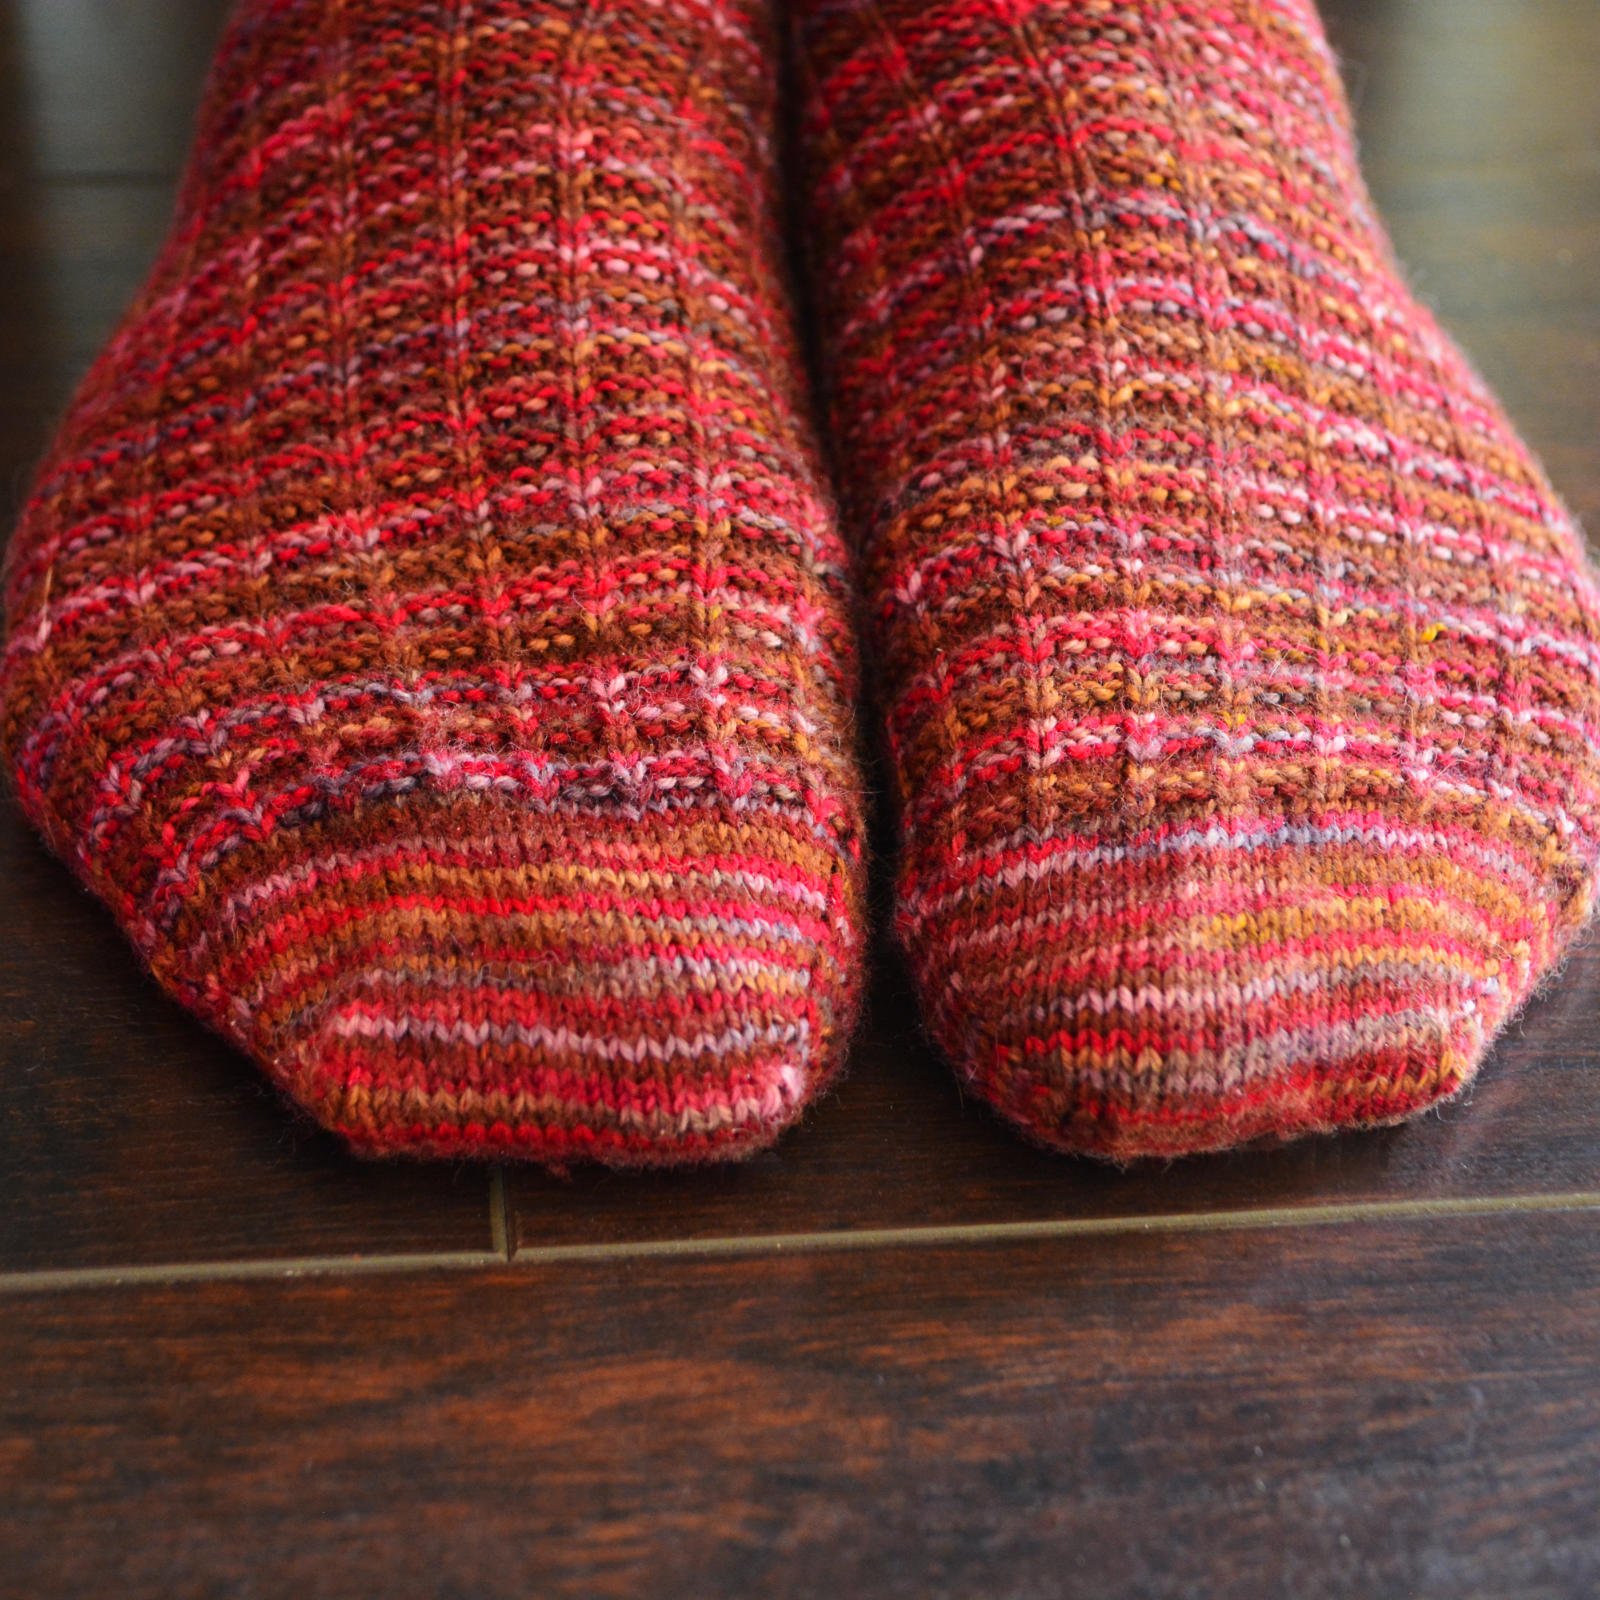
    • Gusset shaping

    • Garment edges (waists, arms, etc.)

    • Toe shaping

    • Anywhere you want mirrored increases with no holes

    How to Make It:

    M1L (Make One Left-Leaning Stitch): Make one stitch leaning away from your dominant hand by picking up the bar between stitches and placing on non-working needle with leading leg in front, then knitting into the back loop, which creates a twist as it drops from needle. (Note that if you’re knitting left-handed, this will actually lean right.)

    M1R (Make One Right-Leaning Stitch): Make one stitch leaning toward your dominant hand by picking up the bar between stitches and placing on non-working needle with trailing leg in front, then knitting into the front loop, which creates a twist as it drops from needle. (Note that if you’re knitting left-handed, this will actually lean left.)

    Close-up of the toes of a pair of waffle weave socks.
    The raglan shaping on either edge of the foot on the toe-up Adventure Socks were created using pairs of Make One increases. Work the increase one stitch in from the edges of the top and bottom of the sock. Use M1L on the leading edge of the top or bottom of the sock and M1R on the mirror edge (either at mid-round or the end of the round) to created the double straight line of stitches along the sides.
    Close-up of the palm side of a thumb gusset on worsted-weight gloves being modelled on a man's hand.
    On either side of a thumb gusset, such as on these Honey Tree Gloves, is another excellent place for pairs of Make One increases. Use M1L on your leading edge and M1R on the trailing edge.

    Keeping Track

    When you’re working with increases, they often repeat at regular intervals, either in your row or every certain number of rows. You could also use tricks like row counters, stitch markers, or making tally marks on your pattern to help you remember where you are.

    However, it’s important you learn to recognize which row or column an increase belongs to so you can keep your stitch count accurate. If you want help “reading” your increases, please check out my tutorial for Reading Increases and Decreases.

    And if you’re interested in any of the patterns mentioned in this post, please click through the links on the images to check them out, or see all my patterns in my shop here:

    Happy increasing, my friend!

  • 3 Tips for Better Circular Knitting

    3 Tips for Better Circular Knitting

    Knitting in the round, or circular knitting, is one of my all-time favourite styles of knitting. What’s better than casting on and then going round and round until you’re done?

    However, there are a few challenges with circular knitting, such as difficulties with tension, the dreaded “laddering” effect where your needles meet when using double-pointed needles, or simply knowing how to accomplish the feat in the first place. (And the purl haters are saying “don’t forget the purl stitch!” I happen to enjoy purling, but we’ll tackle ways to increase your purl love in another post.)

    In this post, I’m going to give you my top five tips for creating beautiful circular projects, so you can fall in love with circular knitting too!

    Onward.

    Title pin for 3 Tips for Better Circular Knitting

    Tip #1: Use the right needles for the job

    Circular projects come in all shapes and sizes, from sweaters in the round to sleeves to hats to socks and mittens. And let’s not forget fingers on gloves or even I-cord. Each of these projects has a different circumference, and circumferences can even change throughout the project.

    To create a pleasant knitting experience, it’s helpful to know which needles to use when.

    When it comes to knitting in the round, you have two options:

    Double-pointed Needles

    Set of five double-pointed needles.

    As the name suggest, double-pointed needles (or DPNs) have points on both ends. They often come in sets of four or five, allowing you to hold stitches in the round (though they’ll look like a triangle or square shape on the needles) while having one free needle to use as your working needle at all times.

    (Some DPNs come in sets of six, but the sixth is usually a spare in case one of the other ones breaks.)

    Circular Needles

    A set of circular needles with interchangeable tips

    Circular needles have two rigid needle tips connected by a flexible cable. The tips can be fixed, meaning they can’t be removed from the cable, or interchangeable, such as these ones. Interchangeable needle tips can be swapped out to use many different sizes with one cable, or to use the same needle tips with cables of different lengths.

    If you’re new to the different types of needles and how best to use them, I go into much more depth in my tutorial about How to Choose Needles, which you can see here:

    While both types of needles come in a wide variety of lengths, you’ll be hard-pressed to find double-pointed needles longer than ten inches (or 25 cm), and the shortest circular needle cable is usually 16 inches (or 40 cm).

    I have some vintage DPNs that are 14 inches (or 35 cm) long, but I’ve never seen any modern options this length. That’s because working with rigid double-pointed needles at longer lengths for projects like sweater bodies is awkward and ungainly. Once circular needles were invented, I suspect these longer DPN options fell out of fashion.

    But manipulating the rigid ends of circular needles requires you to have enough cable to be able to turn the needle tips back toward themselves, so you can’t really have a cable shorter than 16 inches. However, you can use a cable as long as 42 inches (or 107 cm) for pretty much anything.

    That’s why, traditionally, double-pointed needles have been used for small-circumference projects, and circular needles have been used for larger ones. Frankly, I prefer double-pointed needles, and will use them whenever a project circumference allows for it. Not everyone does, but if you’re starting out with circular knitting, I recommend you give double-pointed needles a try. (Find a tutorial about using them here.)

    Inside of a large striped knitted tube on a metal-tipped circular needle
    A striped orange-and-white project on a circular needle sits piled next to the balls of yarn on a rustic whitewashed wooden surface. The inside of the project is most plainly visible, showing the reverse stockinette side of the stripes.

    However, there are also three ways to use circular needles: in a single loop (as one would suspect), using two shorter circular needles in place of four double-pointed needles, or using one long needle looped in the Magic Loop method. Since many people find circular needles easier to work with than double-pointed needles, you can usually use one of these three methods to suit your project needs. Not to mention the cash and space you’ll save with only having to buy needles of one type to cover the full range of circumferences.

    (Click the links to go to my tutorials about how to knit in the round using each of these methods, or find them all in my Stitches and Techniques index.)

    In the end, the type of needle you choose will often come down to personal preference. But keep this general guideline mind: double-pointed needles or Magic Loop method for small circumferences, and circular needles for large ones.

    General Guideline: double-pointed needles or Magic Loop method for small circumferences, and circular needles for large ones.

    Flat lay of a completed Beanstalk Sock and a started one with only the cuff on a white desk.
    A sock started on a set of four six-inch (15-cm) nickel-plated double-pointed needles. Sock design shown is Beanstalk Socks.

    Tip #2: Prevent ladders before they begin

    The problem: after several rounds of your project, you notice what looks like a “run” in your knitting where your needles meet, with a long column of stitches with too much yarn between them. This can happen no matter which types of needles you choose, and it’s called “laddering”.

    I’ve found three key ways to prevent this:

    First, always begin your needle with a knit stitch, if possible. This allows for the least amount of distance between the new non-working needle and the one you just completed. If you must start with a purl stitch, make sure your working needle is below the non-working needle to simulate this effect.

    Second, give your yarn a good tug after the first stitch of every needle. This reduces that gap even more, ensuring you don’t accidentally leave some extra yarn behind as you move past it.

    Third, rotate your work around the needles as you go. Meaning, make sure the gap between needles isn’t always in the same place in your project by changing the location each round. This helps keep your tension more even and ensures your “stitches between the needles” don’t line up vertically, preventing the unsightly ladders you might otherwise see.

    While I usually find the first two prevention measures to be enough, you might need to employ this last one, too, especially when using the Magic Loop Method with a single circular. Since Magic Loop requires pulling the extra cable length out between your stitches, rotating the location of this loop around the project can keep it from stretching out in a single spot.

    Tip #3: Swatch in the round for circular projects

    When knitting in the round, your tension will be different than if you knit back and forth—yes, even if you’re incorporating purl stitches in your design. (Or maybe especially then.)

    If you’re knitting in the round, it’s imperative that you also do your gauge swatch in the round to match tension. The gauge given in circular knitting project patterns should be given in the round, and you may have a difficult time matching it with a flat swatch (and if you do, you’re resulting garment likely won’t fit and you’ll wonder why).

    This doesn’t mean you need to make a knitted tube for your swatch, though you can. Doing so will take a lot more time and yarn than you need, however. Whereas swatching in the round means you create a swatch where you only ever knit from your leading edge, duplicating the tension you’ll have in your actual project. You do this by only knitting the area you’ll need for you swatch while carrying the yarn straight across behind the swatch in a float, like so:

    Back of swatch made in the round
    The back side of a gauge swatch made in the round, showing the yarn floats.

    To learn to make a swatch that duplicates the tension of knitting in the round but saves yarn and time, check out my tutorial about how to swatch in the round below:

    I also recently saw another ingenious idea for swatching in the round, which will save even more yarn and create even better tension, because it prevents the swatch curling toward the back of the piece. (I think it was from designer Patty Lyons on her Instagram account, but I can’t find it now. If someone knows differently, please let me know so I can attribute properly.)

    A swatch knitted in the round using the "knit your floats" method

    What I did for this swatch in the round is keep an extra three or four times the width of the swatch for each yarn float as I ran it back across, then used that float to work the next round instead of the working yarn. You keep alternating rows between the working yarn and using the yarn float to work the next row.

    Kind of blew my mind when I saw it, and it works great. (Though, as you can see, I wasn’t keeping enough slack on my leading edge at first (on the right), which is why that part is more puckered. The slack gets used up as you work the first bit of the row, so make sure to leave more of a loop at the leading edge than you think you’ll need.)

    I hope these tips give you a much more satisfying experience while knitting in the round. If you still have questions, feel free to reach out to me, or join my Ravelry community to ask questions and get help from a bevvy of experienced knitters.

    And be sure to sign up to receive blog notifications in the sidebar to never miss a helpful post.

    Happy knitting, magic-maker!